Fresh Apple & Pear Dressing Spinach salad (including farm fresh tarragon leaves) with Grilled King Salmon 

Fresh apple & Pear Dressing Spinach salad (with farm fresh tarragon leaves) with Grilled King Salmon

Image
First I washed a package of organic baby spinach and dried the leaves. This is best to do in a salad spinner. Unfortunately, I can’t find mine since my move – instead, I drip-dried the leaves in a colander and then patted them dry with paper towels. I made the salad dressing a day in advance. I thought it was delicious when I first made it; however, the second day the tart flavor started taking over. Therefore, if you aren’t going to use it right away, add less of the lemon and apple cider vinegar mixture.
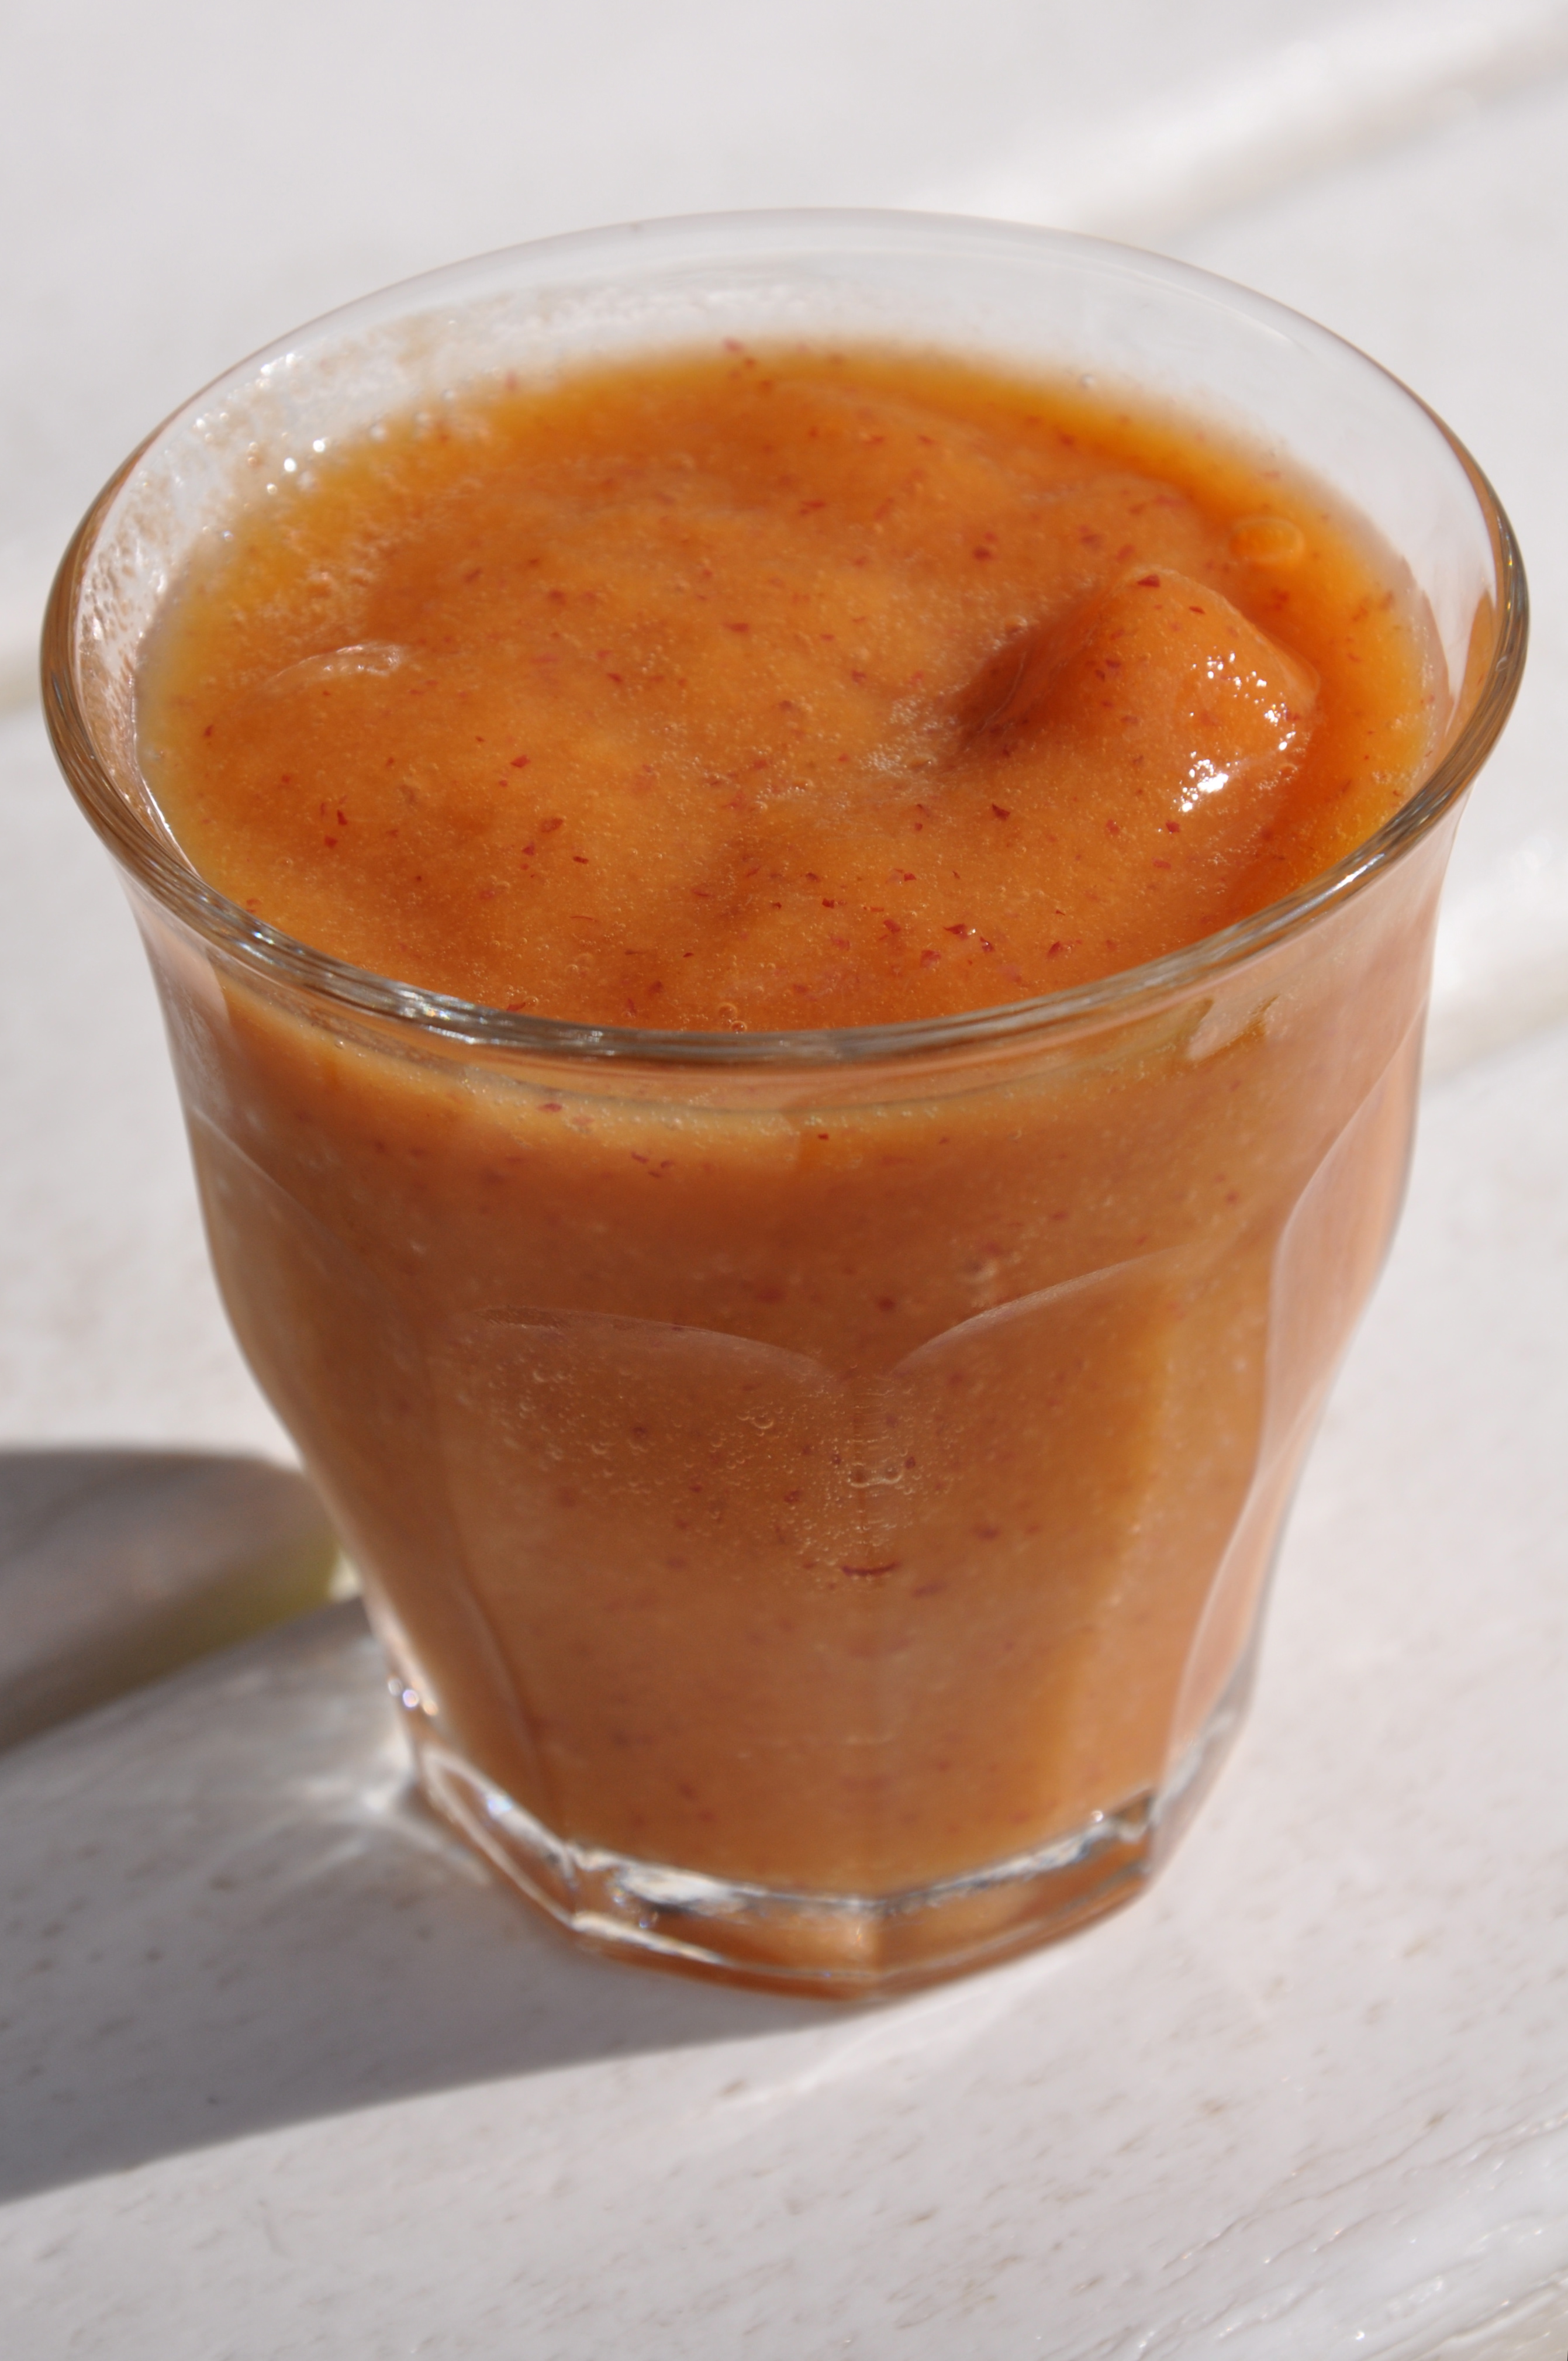
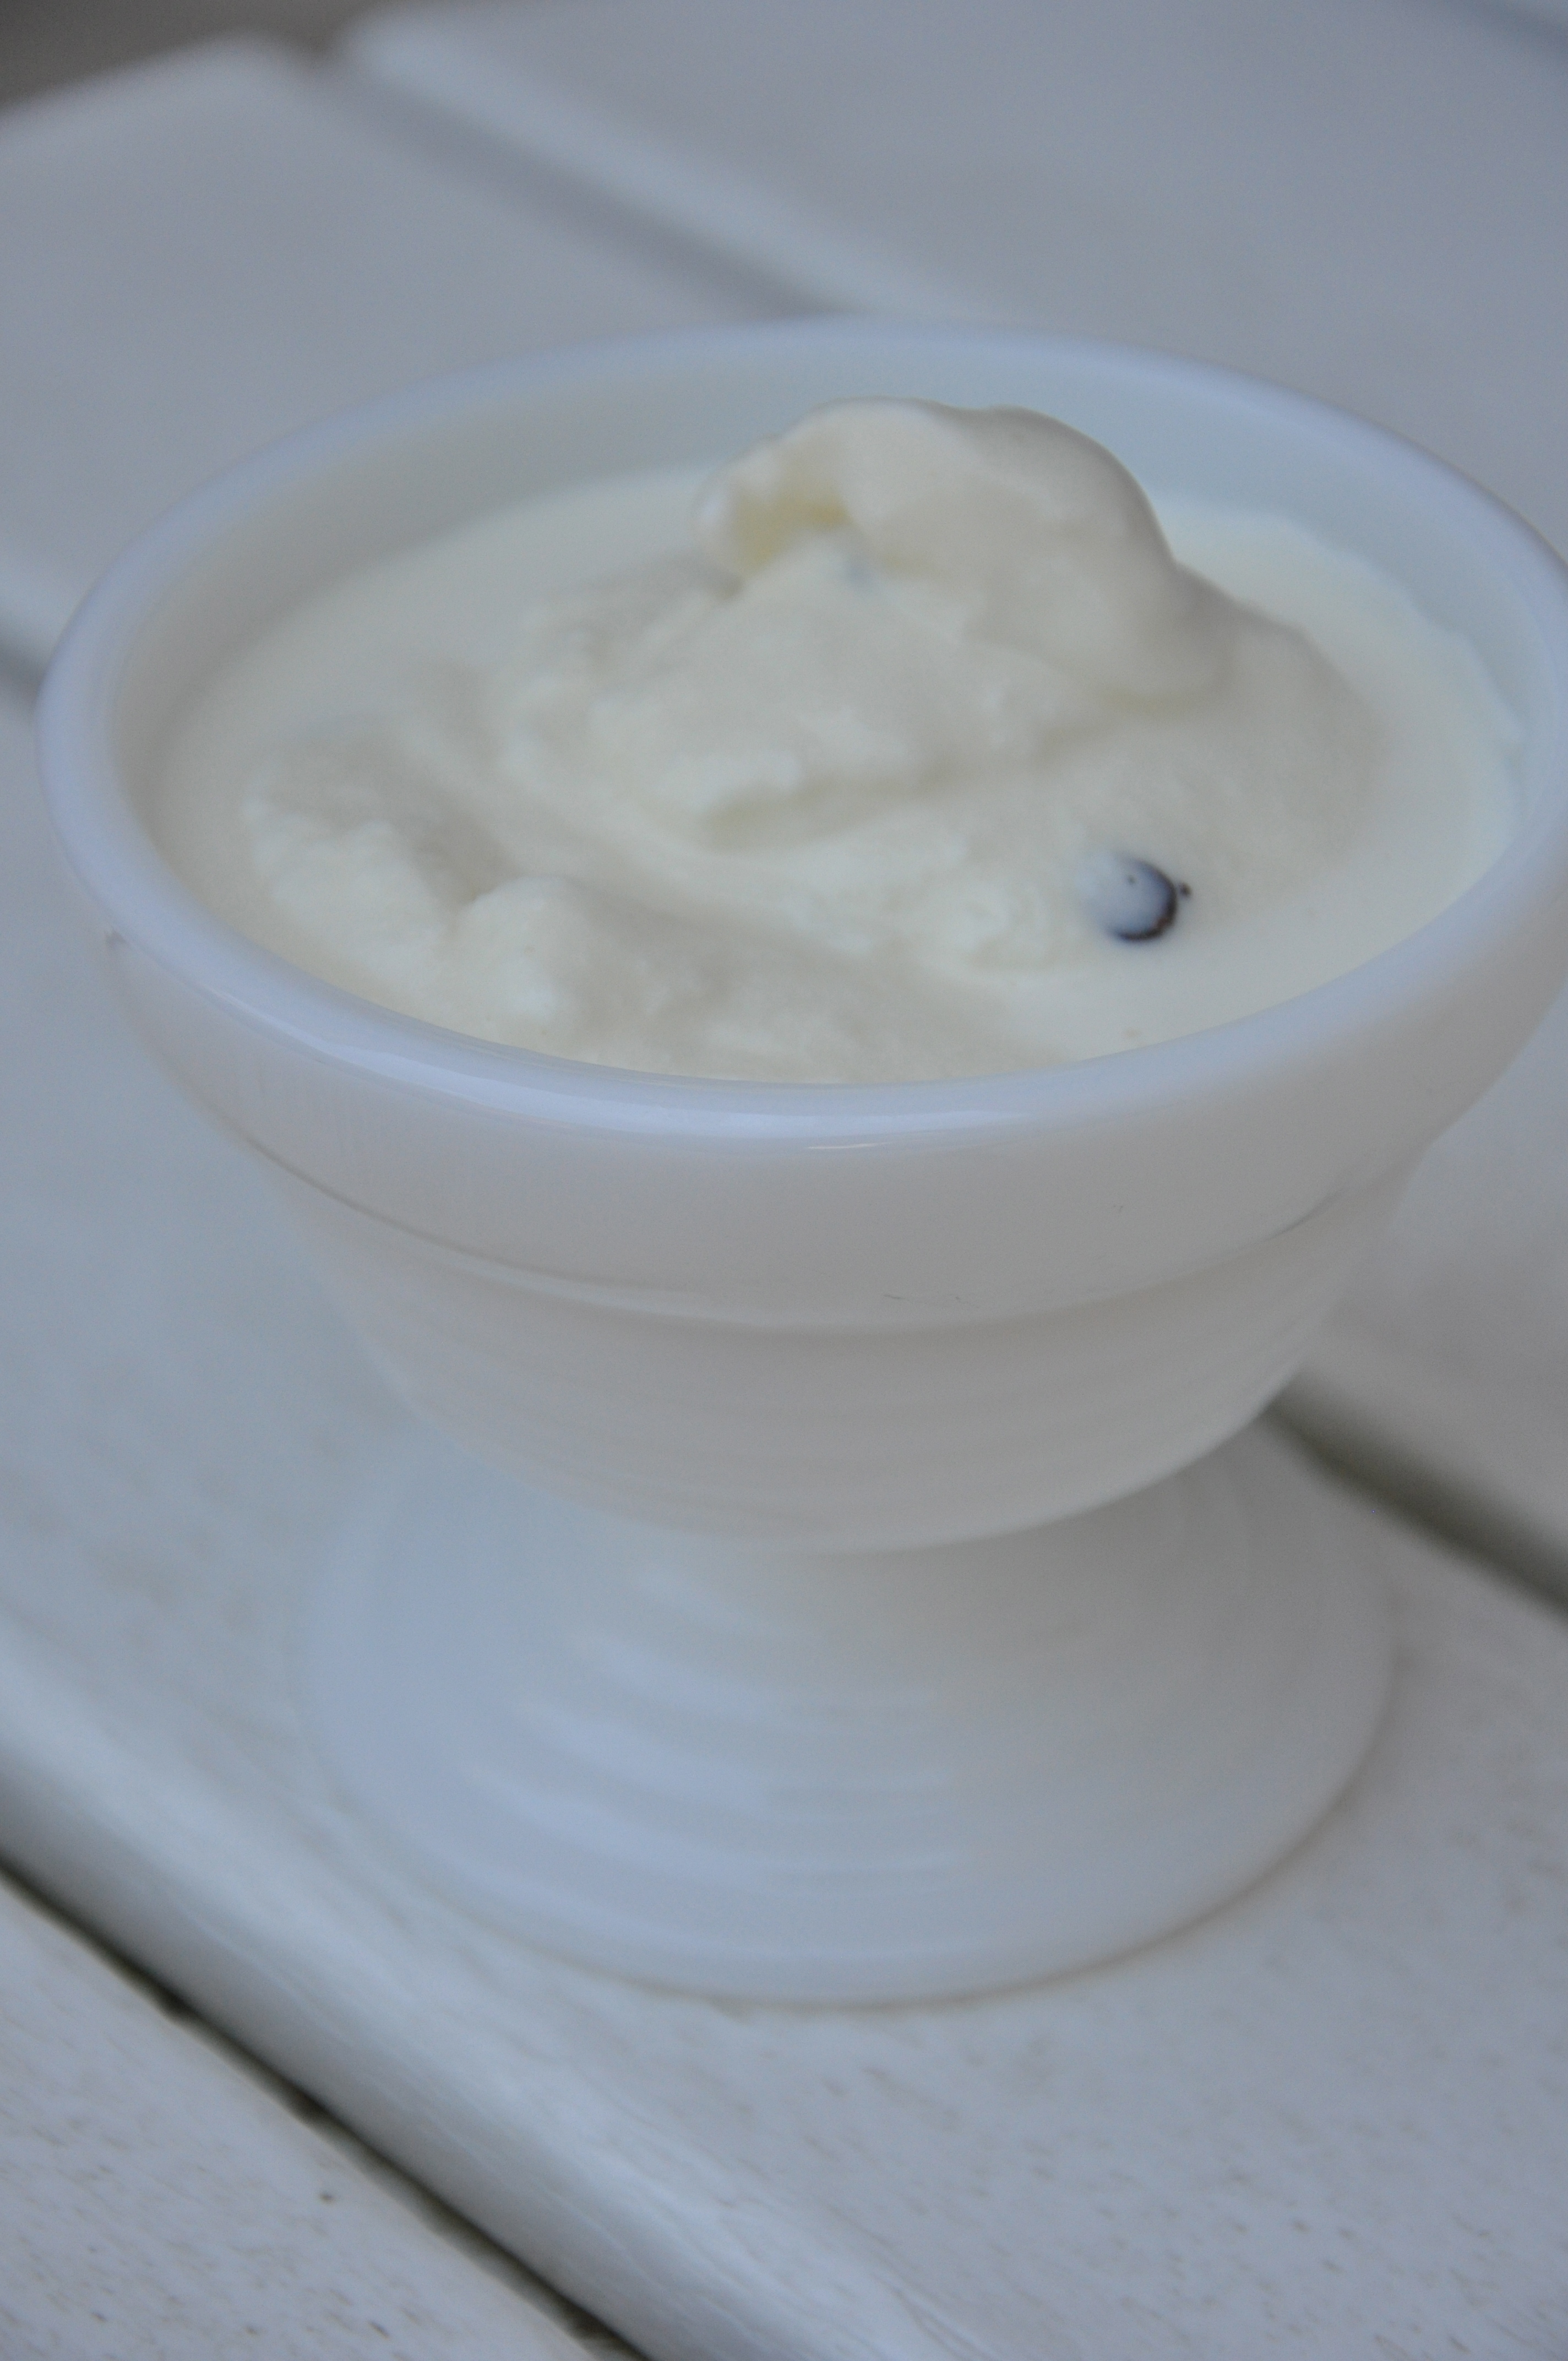
Fresh Apple and Pear Dressing:
From: Vitamix – Create – Professional Series 750 Blender – Page 98
   1 ripe apple, cored, shopped
   1 ripe pear, cored, chopped
   1/2 cup granulated sugar
   2/3 cup water
   1 teaspoon fresh tarragon leaves (We used our beautiful farm fresh tarragon from the VA Green Grocer)
   4 Tablespoons cider vinegar, divided use
   3 Tablespoons fresh lemon juice, divided use
1. Place fruit, sugar, water and tarragon in a medium saucepan and simmer, covered, over medium heat until very soft, about 4 to 6 minutes depending on ripeness of fruit.
2. Let water evaporate. There should be about 1 3/4 cups fruit and liquid when finished cooking. Allow the mixture to cool.
3. Pour fruit mixture into the Vitamix container and secure lid.
4. Select Variable 1.
5. Switch machine to Start and slowly increase speed to Variable 10.
6. Blend for 20 seconds or until smooth.
7. Remove mixture to a medium-sized bowl. Whisk in half of the cider vinegar and lemon juice. Taste; dressing should be a pleasant blend of sweet tart. If desired, add remaining cider vinegar and lemon juice.
Image
The kids went crazy for this one.
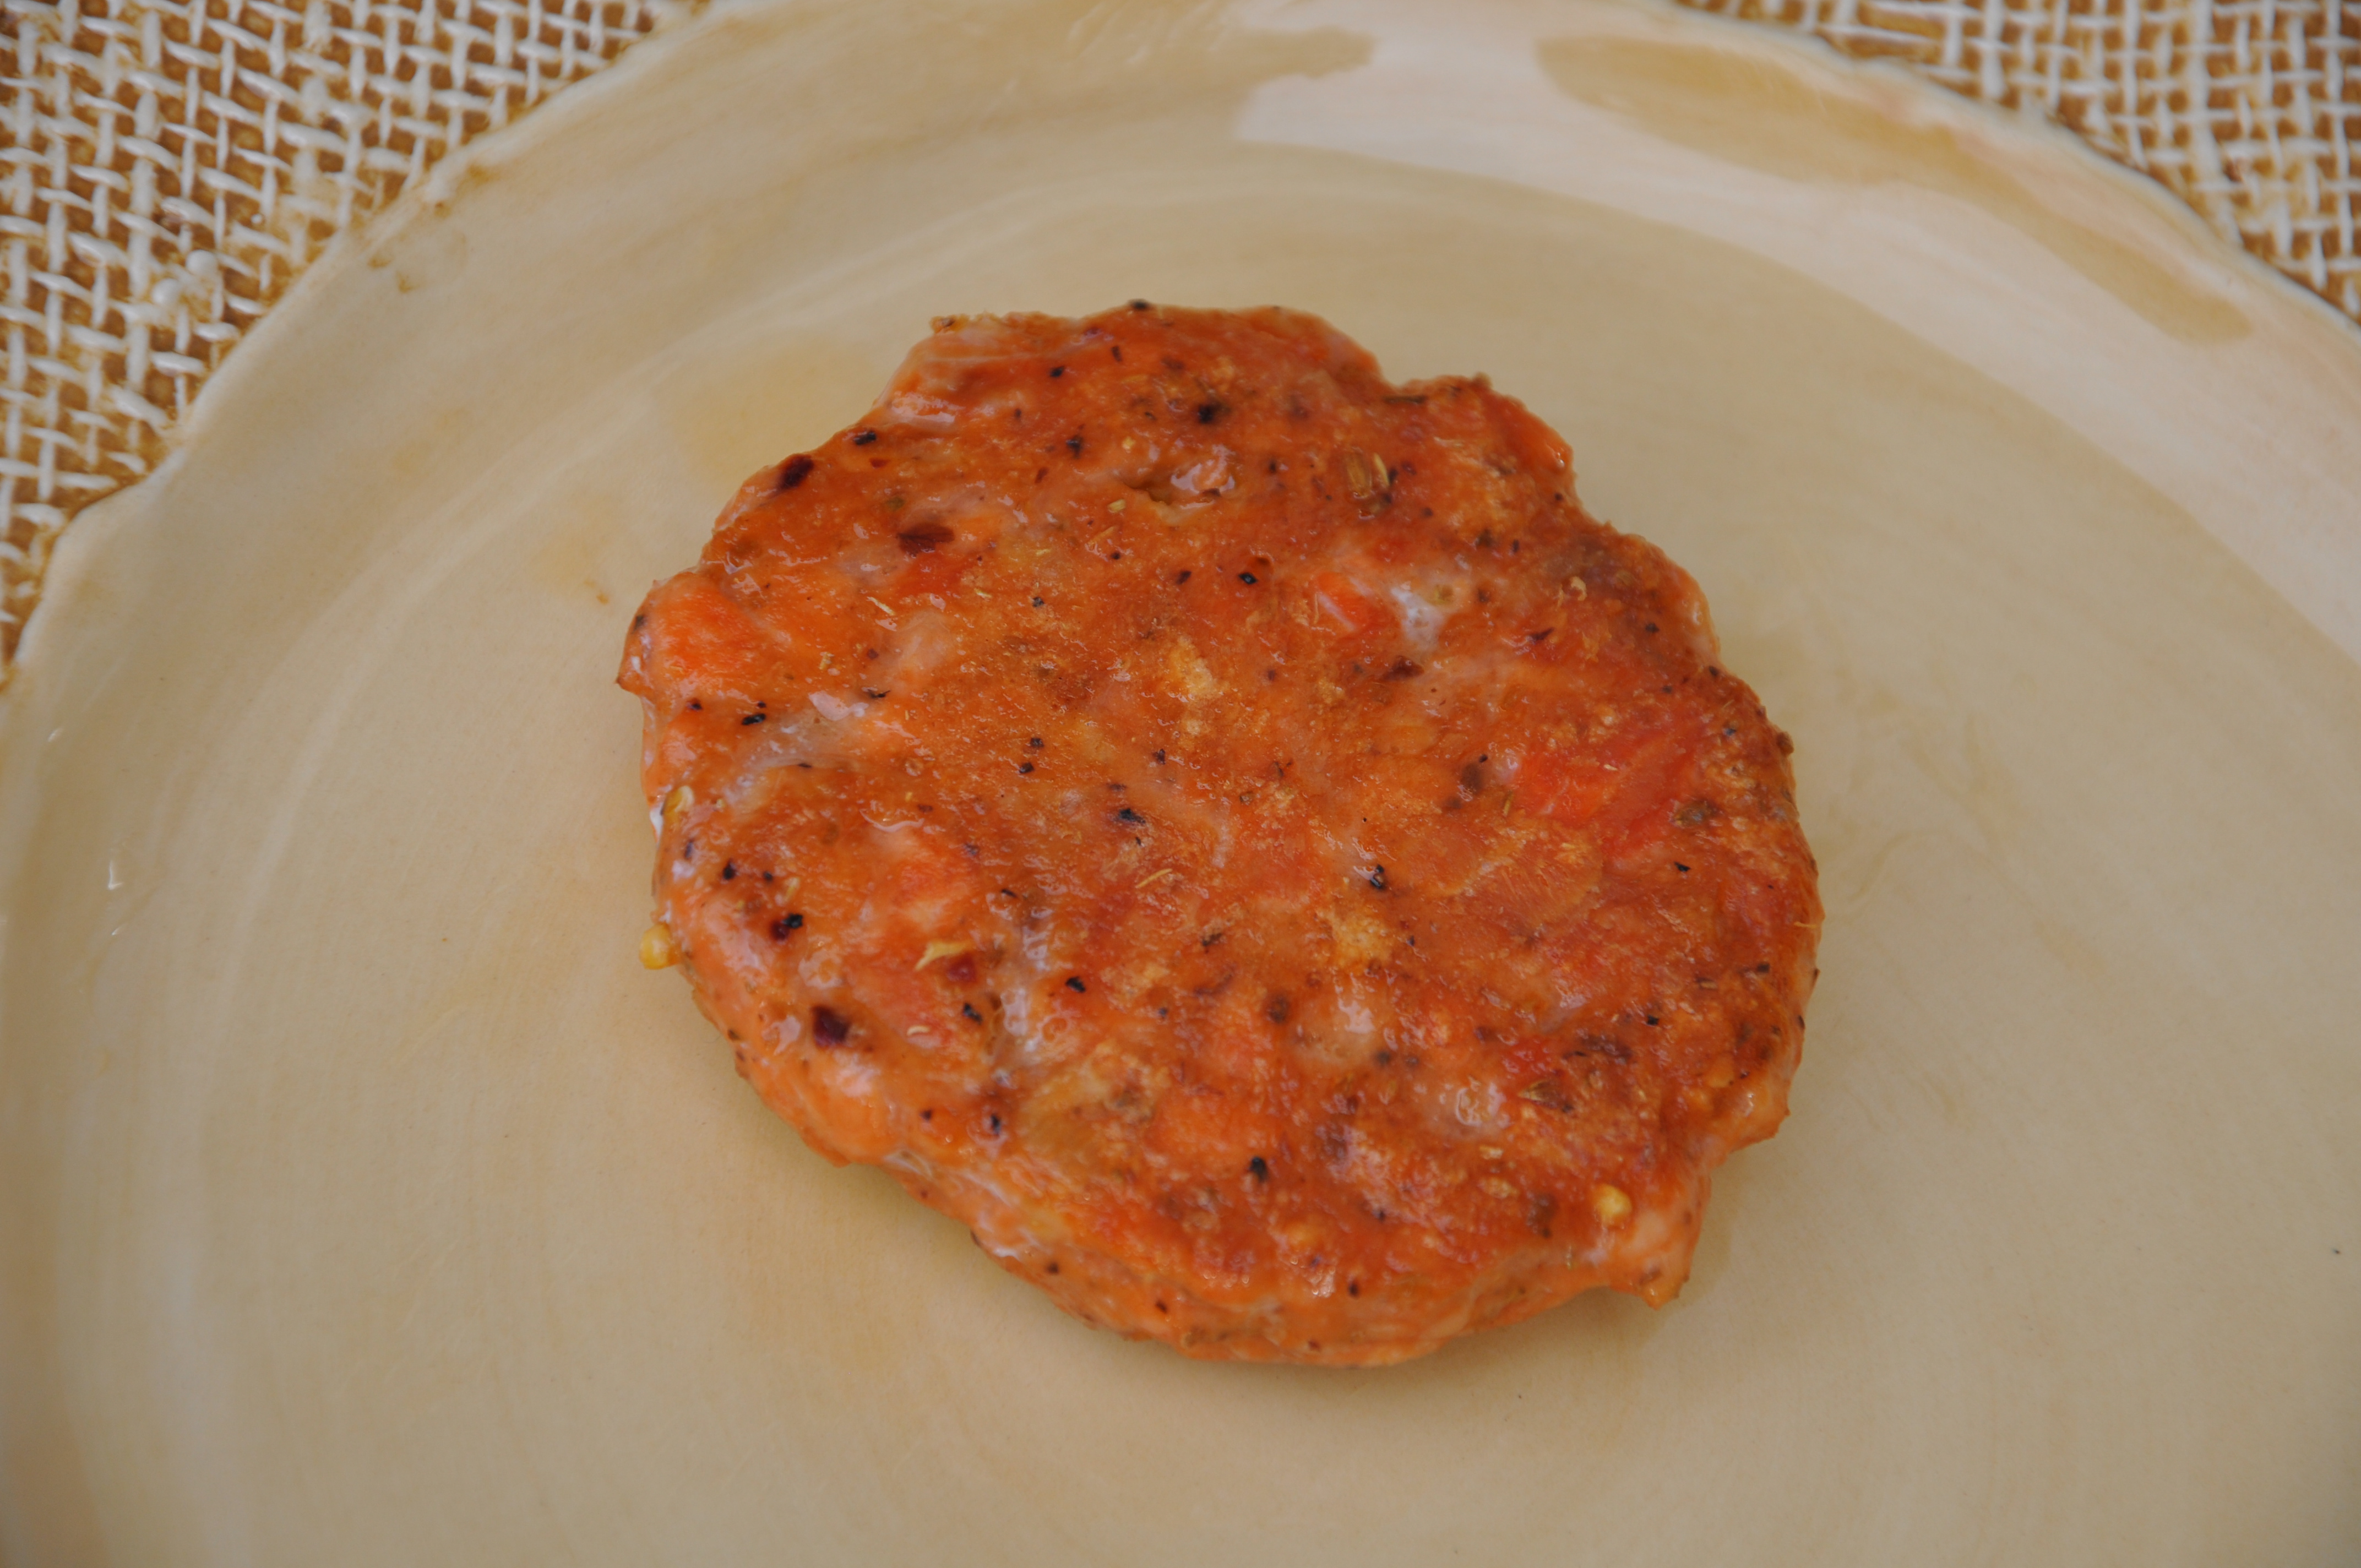
We purchased this King Salmon Skinless-Boneless Portion from VitalChoice.com. The website lists this fish as +55 OM3/6 Balance Score – one of the highest/best omega content fish on their website. They state “A food’s Omega Balance Score reveals its estimated impact on the relative proportions of omega-3 and omega-6 fats in your cells. The omega balance of your overall diet directly determines the corresponding omega balance in your body, which affects basic health.” The website has a link to learn more about Omega Balance Scores.
We followed the serving instructions they list on their website. We took the fish out of the package and defrosted it in the refrigerator the night before cooking (since it arrives at your house frozen and you store it in the freezer).
Serving instructions from the Vital Choice website:
– Before cooking rinse fish quickly in cold, clean water.
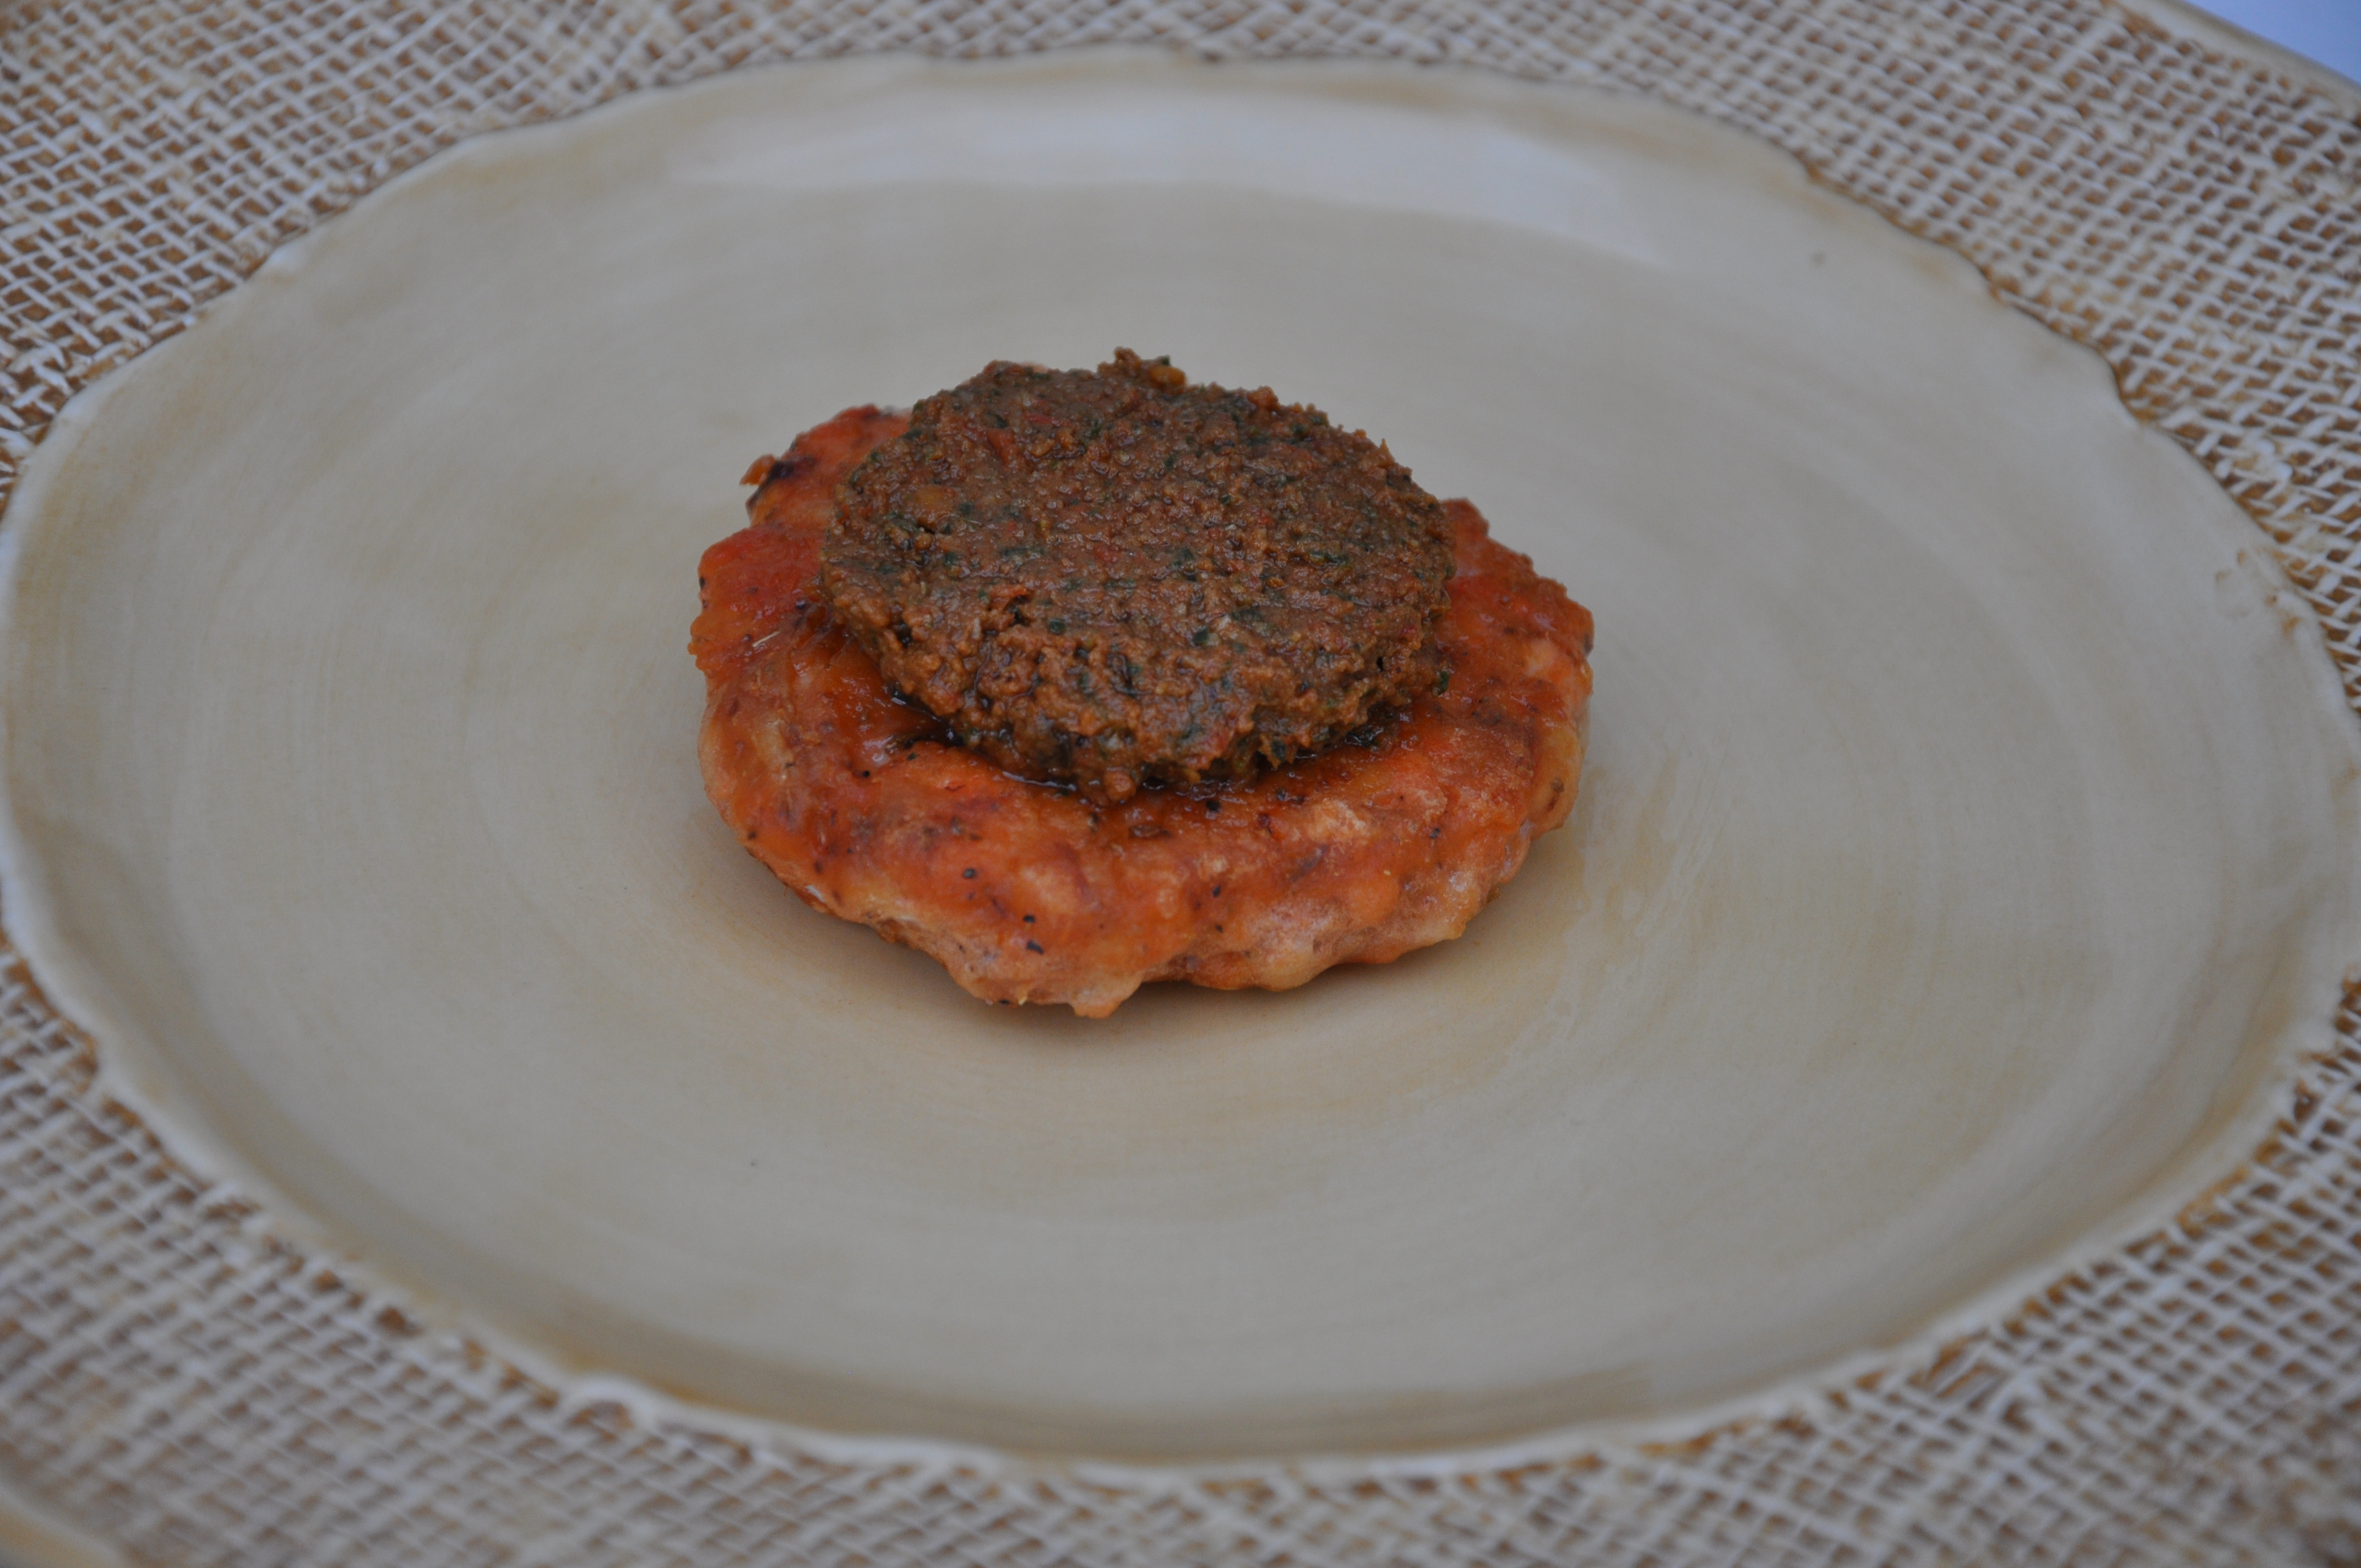
-Add the seasonings of your choice to a little olive oil and marinate the fish, refrigerated, for 30-60 minutes or overnight. (We brushed the fish with olive oil then sprinkled it with salt and pepper.)
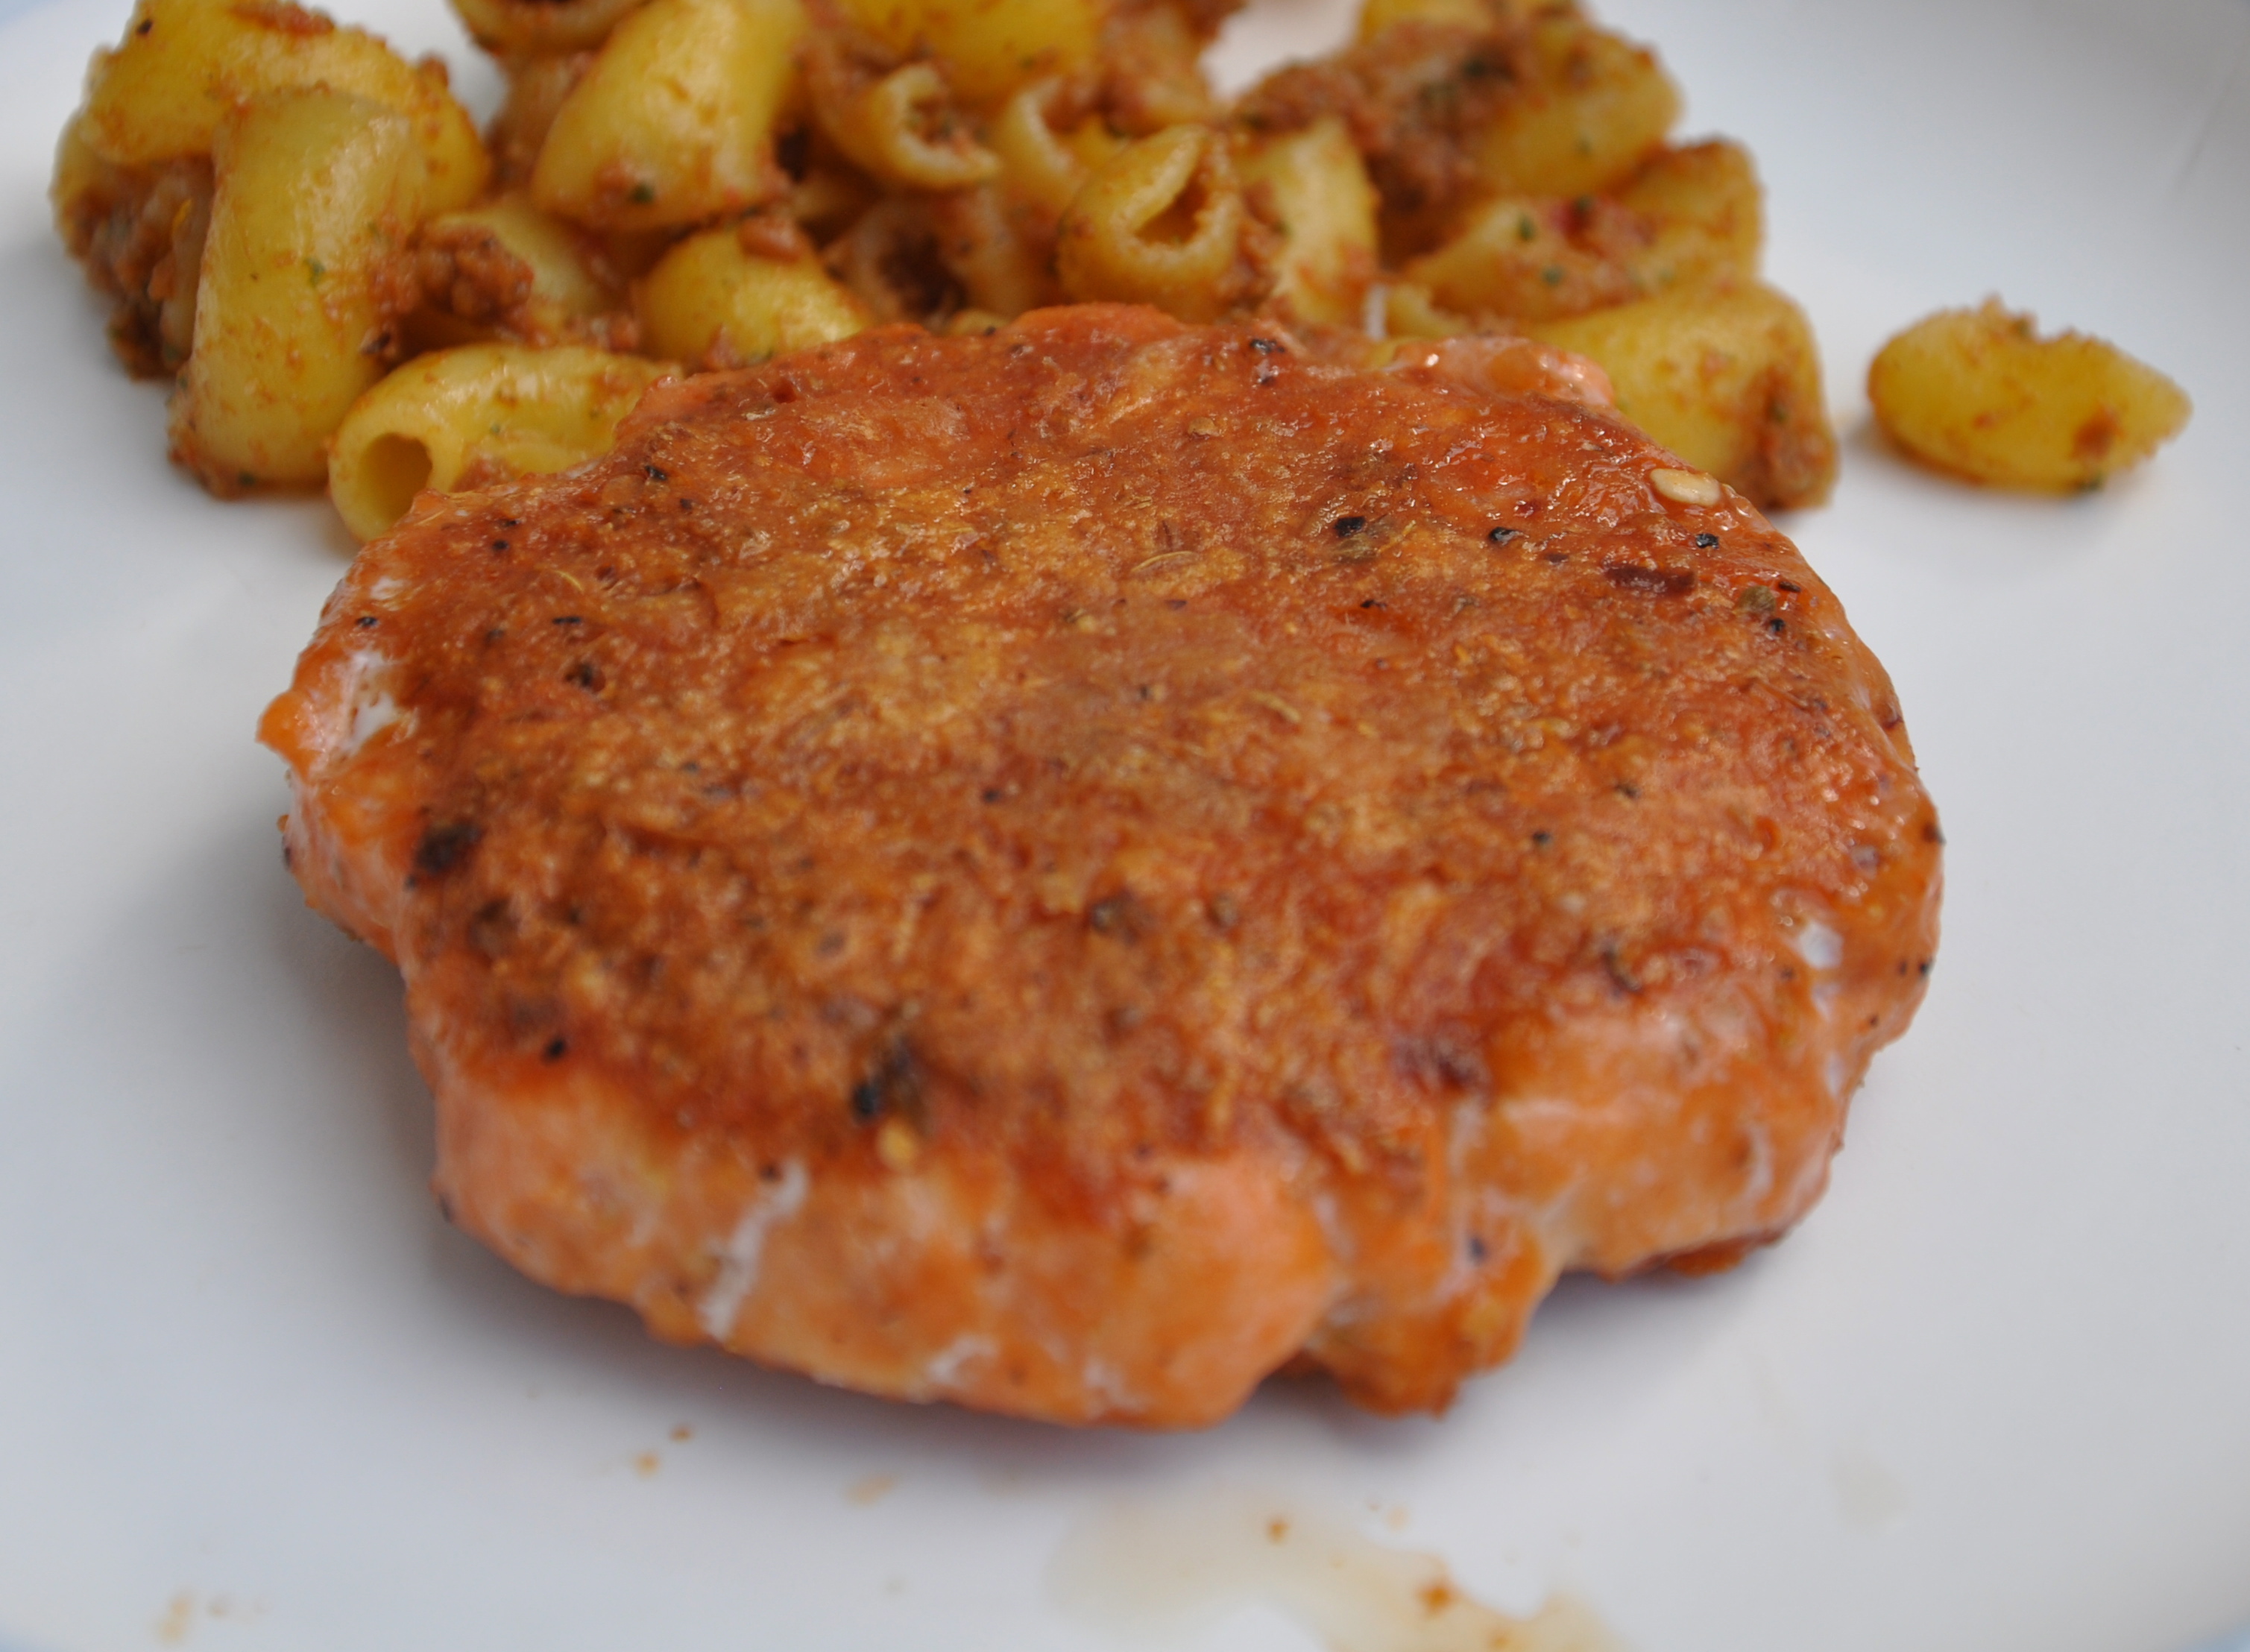
-Cook on the grill for 7-8 minutes, until only the very center is still translucent. (We put the fish on tin foil and then on the grill. We also kept the grill lid down and cooked the fish for 9 minutes.)
-Remove fish from heat and let it “self-cook” another two to three minutes, until just cooked through to center before serving.

Frittata with Spinach, Bell Pepper, and Basil Plus a Cabbage, Peach, & Carrot Smoothie to wash it down

Today’s Brunch:

From: Vitamix – Create – Professional Series 750 Blender – Page 26

Cabbage, Peach, and Carrot Smoothie

   1/2 cup water

   3/4 cup sliced green cabbage

   1 cup red grapes

   1 medium carrot, halved, about 3/4 cup 

   1 cup frozen unsweetened peach slices

   1/2 cup ice cubes

1. Place all ingredients into the Vitamix container in the order listed and secure lid. 

2. Select Smoothie program. 

3. Switch machine to Start and allow machine to complete programmed cycle


Image

This smoothie was yummy and good-for-us. 

Image


We also had an egg frittata. Since my husband loves eggs and he loves brunch – you get the idea – I try to get creative with our egg meals. 

Image


From: America’s Test Kitchen – Light & Healthy 2010 – Page 252:


Frittata with Spinach, Bell Pepper, and Basil – Serves 6
Do not substitute skim milk. You will need a 10-inch ovensafe nonstick skillet for this recipe. 
(Since I did not have this pan I used a 10-inch stick pan. I am still trying to scrape the eggs off…)
 
   6 large eggs
   6 large egg whites
   1 ounce Parmesan cheese, grated (about 1/2 cup)
   3 tablespoons 1 percent low-fat milk 
   2 tablespoons chopped fresh basil
   Salt
   1/4 teaspoon pepper 
   1 small onion, minced (about 1/2 cup)
   1 red bell pepper, stemmed, seeded, and sliced thin
   1 teaspoon olive oil
   1 garlic clove, minced 
   3 ounces baby spinach (about 3 cups)
 
1. Position an oven rack 6 inches from the broiler element and heat the broiler. Whisk the eggs, egg whites, cheese, milk, basil, 1/4 teaspoon salt, and pepper together in a medium bowl. 
2. Combine the onion, bell pepper, oil, and 1/4 teaspoon salt in a 10-inch ovensafe nonstick skillet. Cover and cook over medium-low heat, stirring occasionally until the vegetables are softened, 8 to 10 minutes. Stir in the garlic and cook until fragrant, about 30 seconds. Stir in the spinach, one handful at a time, and cook until wilted, about 1 minute. 
3. Increase the heat to medium, add the egg mixture to the skillet, and cook, gently pushing, lifting, and folding it from one side of the pan to the other, until large, very wet curds form, 1 to 2 minutes. (I FOUND THAT THIS PART TOOK MUCH LONGER AND IF YOU WANT YOUR EGGS TO COOK THROUGH DON’T RUSH THIS STEP). Shake the skillet to distribute the eggs evenly and continue to cook, without stirring, until the bottom is lightly browned, 1 to 2 minutes longer. Transfer the skillet to the oven and broil until the frittata has risen and the surface is puffed and spotty brown, 3 to 4 minutes. (THIS STEP TOOK LONGER AS WELL)
4. Being careful of the hot skillet handle, remove the skillet from the oven and let sit until the eggs in the very center are cooked and moist but not runny, 1 to 3 minutes. Run a spatula around the edge of the skillet to loosen the frittata, then gently slide it out onto a platter. Serve warm or at room temperature. 

Image

This was a very hearty and satisfying meal. Everyone was happy and I will make it again. I am still in search of that perfect egg breakfast that is as healthy as this one but as yummy as those loaded with bread and cheese…. I will let you know when I find my favorite. 


Image


Early Dinner: Zesty Italian Salmon Sausage Patties with Red Pepper Walnut Pesto; Vanilla Chocolate Chip Ice Cream; Late night smoothie snack

My research to find the healthiest fish to feed my family led me to a company called Vital Choice. You can buy all manner of fish on this website for home delivery and a host of other organic foods. We have discovered that we love Dr. Weil’s Zesty Italian Salmon Sausage. Since I don’t eat fish, I must rely on the rest of my family for the feedback. First I put 2 tablespoons of olive oil in my deep saute pan and let it get hot. Then I added the salmon sausage and cooked for 6 minutes on each side. The online instructions at the website recommend placing it in the frying pan when still completely frozen for best results.

Image

I am almost tempted to eat some it looks so good….

Image

Some ate it plain and loved it….

Image

Some ate it with the Red Pepper Walnut Pesto and raved.

Image

I also placed some of the pesto on quinoa pasta.


From: Vitamix – Create – Professional Series 750 – Page 148

Red Pepper Walnut Pesto

6 ounces red bell pepper

2 medium garlic cloves, peeled

3/4 cup walnuts, toasted

1/2 cup sun-dried tomatoes

2/3 cup fresh basil leaves

1/2 cup grated Parmesan cheese

1/2 teaspoon salt

1/4 teaspoon black pepper

1/2 cup olive oil

1. Preheat oven to 400 degrees F. Halve and trim red pepper, place skin side down on oven rack. Roast 15 to 20 minutes or until skin is well shriveled but not blackened. Place in plastic bag for 15 minutes to steam.

2. Place garlic cloves in medium-sized saucepan, add cold water to cover and bring to a boil. Reduce heat and simmer for 5 minutes or until soft enough to pierce with a fork. Remove using a slotted spoon and set aside to drain.

3. Place all ingredients into the Vitamix in the order listed and secure lid.

4. Select Variable 1.

5. Switch machine to Start and slowly increase speed to Variable 3. Blend for 30 seconds or until desired consistency is reached.

Dessert:

After we finished dinner I decided our weekly treat was in order. Since I was short on time I went with a Vanilla Ice Cream Starter from Williams-Sonoma. I added Stoneyfield Farm organic half-and-half and whisked. Then I added the Stoneyfield Farm organic cream. I placed the mix in the ice cream maker for 25 minutes. Then I added Enjoy Life Semi-Sweet Chocolate Chips. I let the machine mix for five more minutes before serving. The instructions recommend freezing your ice cream for some time before eating; however, we all like it soft-serve right out of the machine best. I like the chocolate starter from Williams-Sonoma better than the vanilla and I think I would have been happier if I left the chocolate chips out. However, the chocolate flavor with the added chocolate chips is off the charts.

ImageImage

Late Night Smoothie Snack:

Since we ate dinner so early today we were hungry again by 8:00. This smoothie was pretty tasty.

From: Vitamix – Create – Professional Series 750 – Page 22

Key Lime Smoothie:

1/4 cup water

1/2 lime, peeled

2 ripe kiwis, peeled, halved

1 ripe pear, halved, cored

1 Tablespoon honey

1 cup ice cubes

1. Place all ingredients into the Vitamix container in the order listed and secure lid.

2. Select Smoothie program.

3. Switch machine to Start and allow machine to complete programmed cycle.

Image

Homemade Trail Mix

Image

This is a quick and easy snack that helps prevent me from eating processed junk. I added a bag of Parker’s Peanuts (Virginia gourmet), a few tablespoons of Enjoy Life semi-sweet mini chocolate chips (soy and dairy free), dried cranberries or cherries, pumpkin seeds (I like “Go Pumpkins!” dry roasted organic lightly salted pumpkin seeds), golden-honey raisins, slivered almonds, and sunflower seeds. Make sure not more than one of your ingredients have added salt or it will be a sodium-loaded snack. Other than my pumpkin seeds I like to make sure none of the other ingredients are processed or prepared in any way and that they do not have any added ingredients. This snack takes under 5 minutes to prepare.

Parker’s Peanuts are the best peanuts I have ever tasted. They have no additives or preservatives. (Virginia Peanuts, Inc. Courtland, Virginia 23837)

Our Daily Breakfast

I start by adding 1/2 cup of Trader Joe’s quick cook steel-cut oats plus 2 1/4 cup of water to a pot. I turn the heat to high until it starts to bubble and then I turn it down to low. 

Image

While the oats are cooking I prepare the fruit: I wash and chop 1/2 carton of organic strawberries, I chop 1 to 2 bananas, and I wash 1/2 carton of blueberries. 

Image

In a separate bowl I add a heaping tablespoon of Shaklee fiber, 4 tablespoons of ground walnuts, 4 tablespoons of flaxseed meal, and 1 teaspoon of chia seed. 

Image

When the oatmeal has finished cooking I add a couple shakes of cinnamon and the walnut mixture and give it all a stir. Then I add in the prepared fruit and serve immediately before the fruit starts to cook. 

Image

This is how the finished product looks. 

Image

Cherry Cobbler

I find that America’s Test Kitchen and The Editors of Cook’s Illustrated rarely if ever let me down. This is another fabulous example of a meal they tested again and again so I can’t go wrong. Although I must admit, my Mom did most of the work on this one 🙂

Image

I used the Trader Joe’s jarred Morello cherries and the turbinado sugar per the recommendation in the book. This was amazing and well-worth the effort.

From The Editors of Cook’s Illustrated – The Best Skillet Recipes – Page 312

Cherry Cobbler:

Biscuit Topping

1 1/2 cups unbleached all-purpose flour

5 tablespoons granulated sugar

1 1/2 teaspoons baking powder

1/4 teaspoon baking soda

1/4 teaspoon salt

3/4 cup buttermilk

4 tablespoons (1/2 stick) unsalted butter, melted and cooled

Cherry Filling

3/4 – 1 cup granulated sugar

3 tablespoons cornstarch

Pinch Salt

2 (24-ounce) jars Morello cherries, drained (about 4 cups cherries), with 2 cups juice reserved

1/2 teaspoon vanilla extract

2 tablespoons turbinado sugar

1. For the biscuit topping: Adjust an oven rack to the middle position and heat the oven to 400 degrees. Whisk the flour, granulated sugar, baking powder, baking soda, and salt together in a medium bowl. Stir in the buttermilk and melted butter until a dough forms. Cover and set aside until needed.

2. For the Cherry Filling: Whisk the granulated sugar, cornstarch, and salt together in a 12-inch ovenproof skillet. Whisk in the reserved cherry juice and vanilla. Set the skillet over medium-high heat and cook, whisking frequently, until the mixture simmers and is slightly thickened, about 5 minutes. Off the heat, stir in the cherries.

3. Using a spoon, scoop and drop 1-inch pieces of the dough, spaced about 1/2 inch apart, over the cherry filling in the skillet, then sprinkle with the turbinado sugar. Transfer the skillet to the oven and bake the cobbler until the biscuits are golden brown and the filling is thick and glossy, 25 to 30 minutes.

4. Using a potholder (the skillet handle will be hot), remove the skillet from the oven. Let the cobbler cool in the skillet for at least 15 minutes before serving.